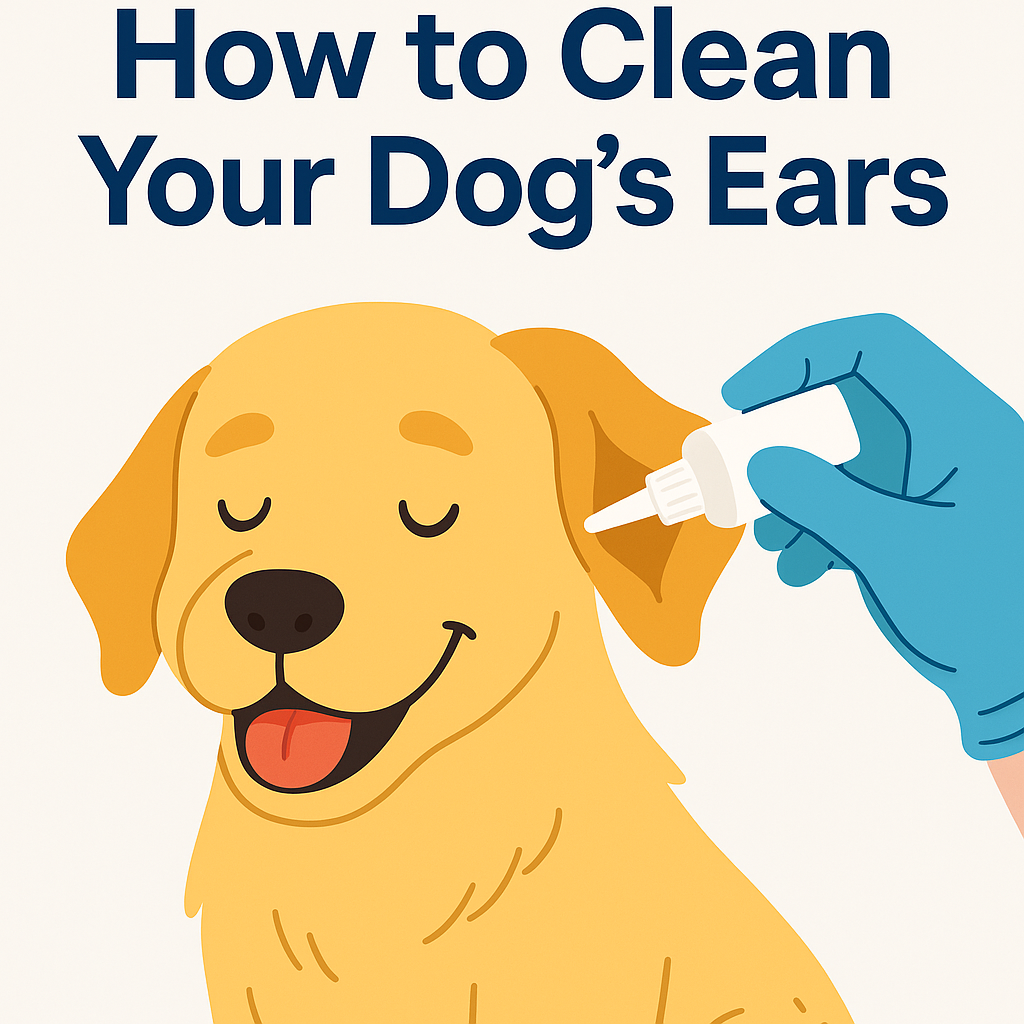
🐶 How to Clean Your Dog’s Ears – 5 Simple Steps for Healthy Ears

🐶 How to Clean Your Dog's Ears – A Complete Step-by-Step Guide
Meta Description
Learn how to clean your dog's ears safely and effectively. This complete step-by-step guide helps prevent infections and keeps your dog's ears healthy.
URL
/how-to-clean-your-dogs-ears-guide
Why Cleaning Your Dog’s Ears Matters
Keeping your dog's ears clean isn't just about hygiene — it's essential for preventing infections, removing allergens, and ensuring overall comfort.
In this post, we’ll walk you through how to clean your dog's ears easily and safely at home.
Common Signs Your Dog Needs an Ear Cleaning
Recognizing when your dog needs an ear cleaning is critical. Look out for:
-
Frequent head shaking or scratching at ears
-
Redness, swelling, or unusual odor
-
Dark, waxy discharge
-
Sensitivity or signs of pain when touching their ears
If you spot any of these, it's time to start cleaning — or consult a vet if symptoms are severe.
How to Clean Your Dog’s Ears: Step-by-Step (Focus Keyword)
1. Gather the Right Supplies
To properly clean your dog’s ears, you’ll need:
-
A dog-safe ear cleaning solution (never alcohol or hydrogen peroxide)
-
Cotton balls or gauze (no cotton swabs/Q-tips)
-
Treats to reward good behavior
2. Prepare Your Dog
-
Find a quiet area.
-
Offer treats to keep the experience positive.
-
Gently hold your dog still without forcing them.
3. Apply the Ear Cleaner
-
Squeeze the cleaning solution into the ear canal.
-
Massage the base of the ear for 20–30 seconds.
-
Allow your dog to shake their head to remove debris.
4. Wipe Away Debris
-
Use a cotton ball or gauze to gently wipe the outer part of the ear.
-
Repeat on the other ear.
5. Reward and Praise
-
Give your dog a treat and lots of praise after the cleaning!
How Often Should You Clean Your Dog's Ears?
-
Floppy-eared breeds (e.g., Cocker Spaniels, Basset Hounds): Once a week
-
Dogs prone to allergies or swimming: Weekly to biweekly
-
Healthy, dry-eared dogs: Every 2–4 weeks
Over-cleaning can also cause irritation, so find a balance based on your dog’s needs.
Common Mistakes to Avoid When Cleaning Your Dog's Ears
-
❌ Using human products (can cause chemical burns)
-
❌ Inserting cotton swabs into the ear canal (risk of injury)
-
❌ Ignoring signs of infection (seek veterinary help if needed)
Always use a veterinary-recommended ear cleaner to ensure safety.
Internal Link Example
👉 Need to know about dog ear infections? Check out our Complete Dog Ear Disease Guide.
External Link Example (DoFollow)
For more information, read this guide from Dignity Dog on how to clean dog ears safely.
🛒 Recommended Products for Ear Cleaning
-
Hypoallergenic dog ear cleaners
-
Gentle ear wipes for sensitive skin
-
Antibacterial and antifungal solutions
👉 Explore Dog Ear Cleaning Essentials.
🧽 Important Precautions Before and After Cleaning Your Dog’s Ears
Proper ear care isn’t just about the cleaning itself — it's about preparation and aftercare too.
Many beginner mistakes happen outside of the actual cleaning process. Here's how to do it right:
🛡️ Before Cleaning
-
Inspect first:
Before applying any cleaner, gently inspect the outer ear for swelling, redness, wounds, or discharge.
If you notice anything unusual, stop and consult a veterinarian before proceeding. -
Use the right solution:
Only use vet-recommended dog ear cleaning solutions.
Human products like alcohol or hydrogen peroxide can severely irritate or even damage your dog’s ears. -
Stay calm and positive:
Your dog can sense your emotions.
Stay calm, speak in a soothing voice, and make the process rewarding with treats. -
Prepare clean supplies:
Use fresh cotton balls or gauze for each ear to avoid cross-contamination.
🧴 After Cleaning
-
Don't insert anything deep:
Never insert cotton swabs or anything into your dog’s ear canal after cleaning.
Only wipe the outer part of the ear. -
Allow natural drying:
Let the ear canal dry naturally.
Avoid using hair dryers, which can overheat the sensitive tissues inside the ear. -
Monitor for reactions:
Over the next 24–48 hours, monitor your dog for signs like excessive scratching, head shaking, or redness.
These could indicate irritation or an underlying infection needing veterinary attention. -
Stick to a regular schedule:
Consistency beats intensity.
It’s better to clean gently and regularly (weekly or biweekly) than to over-clean aggressively once in a while.
✅ By following these before-and-after precautions, you make ear cleaning safer, more effective, and a positive experience for your dog.
